Photo Editing
Creative Advertisement
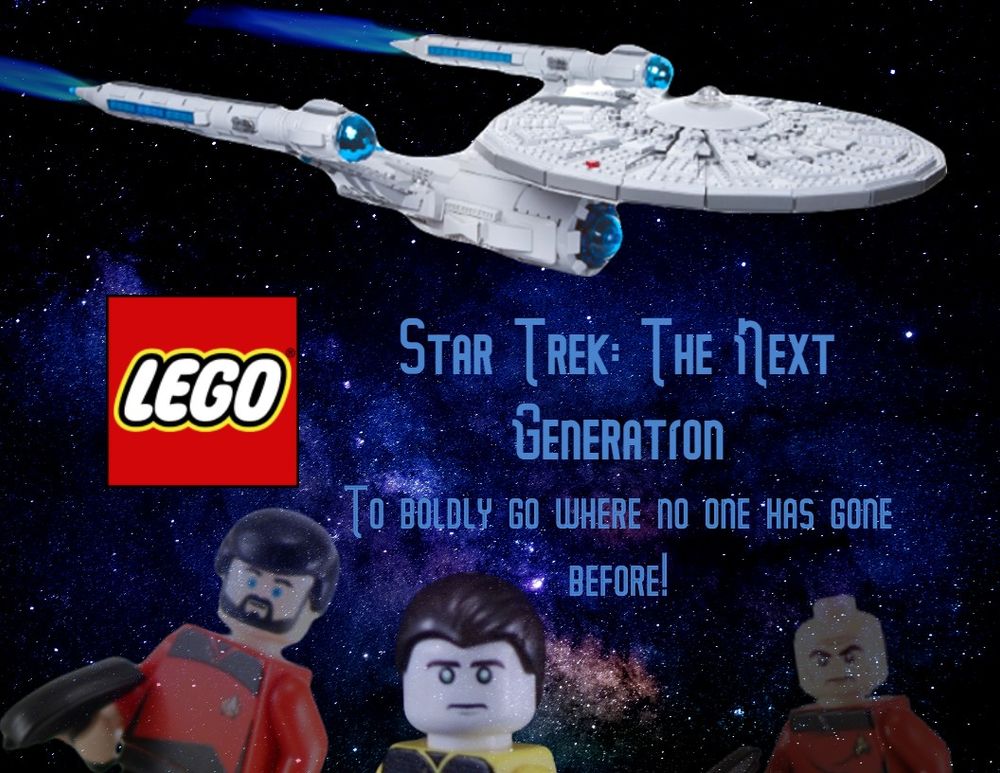
Final Composite
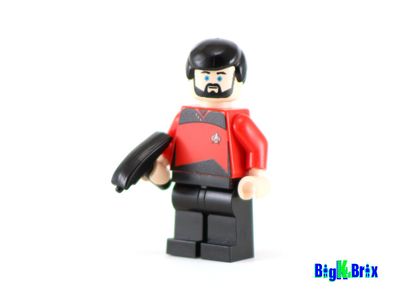
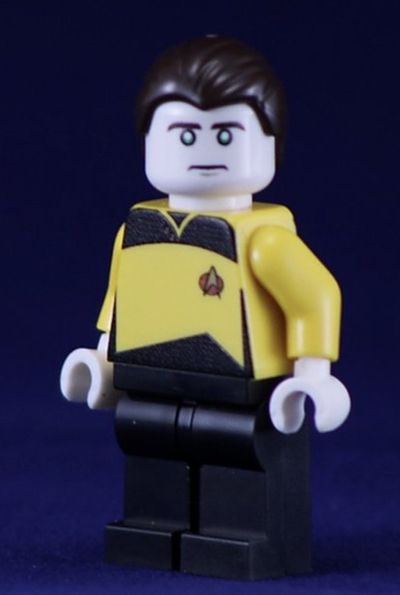
Original Images
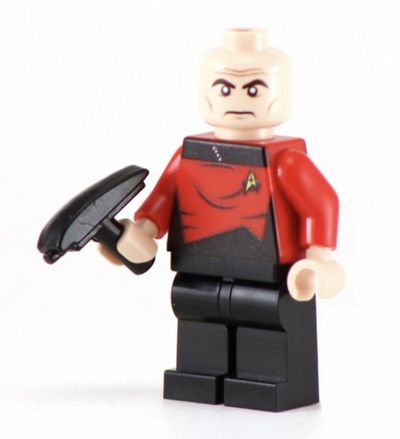
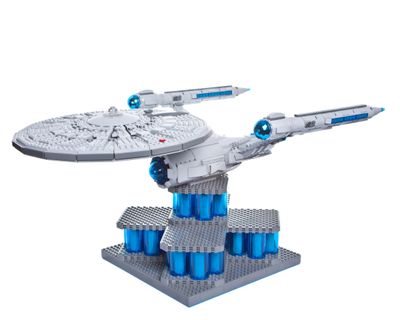
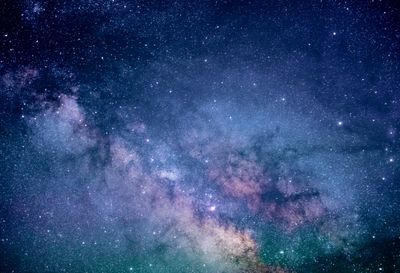
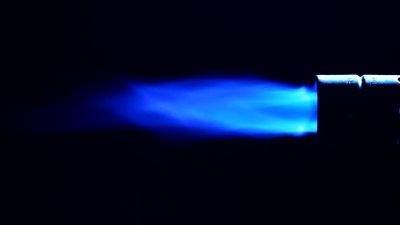
My advertisement is for the Lego model of Star Trek: The Next Generation , a popular TV show from 1987. I used advanced tools such as AI Auto Mask as well as more basic tools such as the Eraser with a lowered opacity (for the flame) and the Lasso (to remove the starship's base) to make my advertisement professional. Unfortunately I was unable to rename layers; I attempted to work around this by exporting my images, renaming the files, and re-importing them.
Colorizing Photos
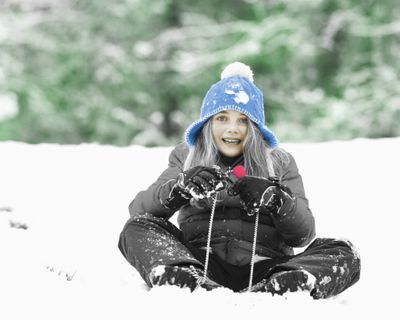
In this image, I used Perlin Noise (to add variance to the tree colors) as well as the Overlay layer blend type and the fill tool to colorize the trees, the hat, the sled handle, and the girl's face.
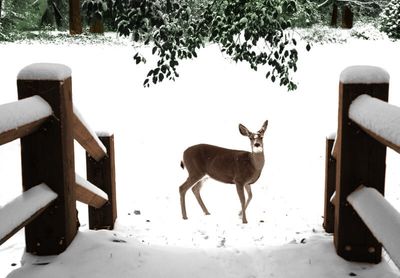
In this image, similar to the last one, I used Perlin Noise (to add variance to the trees) as well as the Overlay and Darken layer blend types, the fill tool, and the magnetic lasso to colorize the trees, the deer, and the fence.
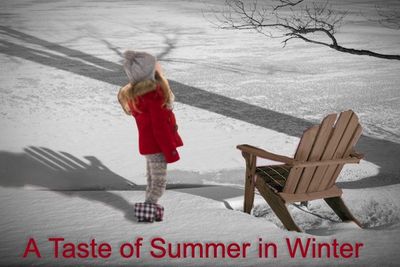
This image was more difficult. I used AI Auto Mask to remove the girl from the original photo and then positioned her onto the scene. In order to get the shadows to work, I simply duplicated the layer, moved the layer to the floor, filled it in with black color, and then turned down the opacity. Where the shadows overlapped, I used the Eraser and the Blur tool to combine them and make it seem like one large shadow. Finally, I colorized the chair, added vignette, and added text.
Creative Reflection
Final Composite
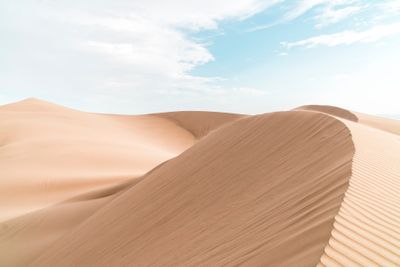
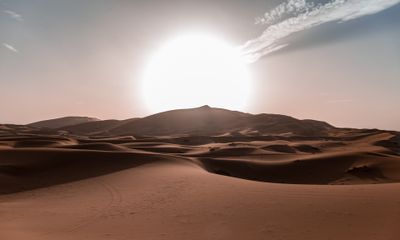
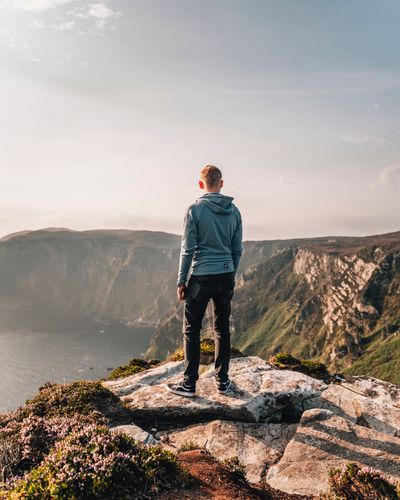

Original Images
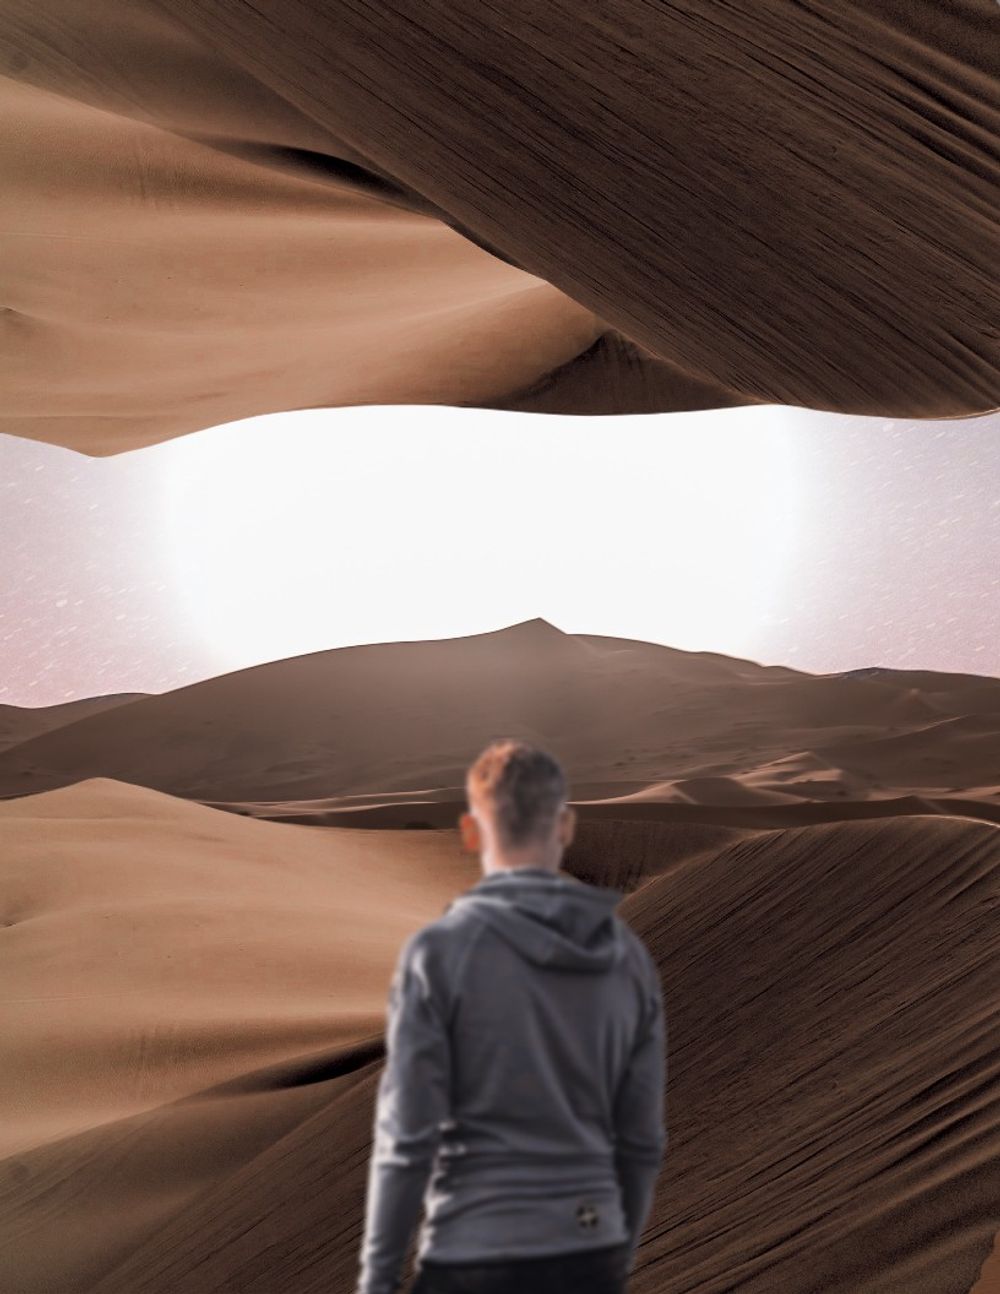
My creative reflection utilized many different techniques to combine largely unrelated images into a final composite. For the first image, the dune, I used Photoshop's Neural Filters, specifically Harmonization, to match the colors to the other dune. I used Pixlr's AI Auto Mask to remove the background. For the person, I used Photoshop's Mask Object (with a bit of manual adjustment) since it seemed to work better than AI Auto Mask, as well as Pixlr's Blur filter to give a sense of focus to the composite. Finally, I used Pixlr's Overlay blend mode and a manually drawn mask to add the stars to the outside of the sun.